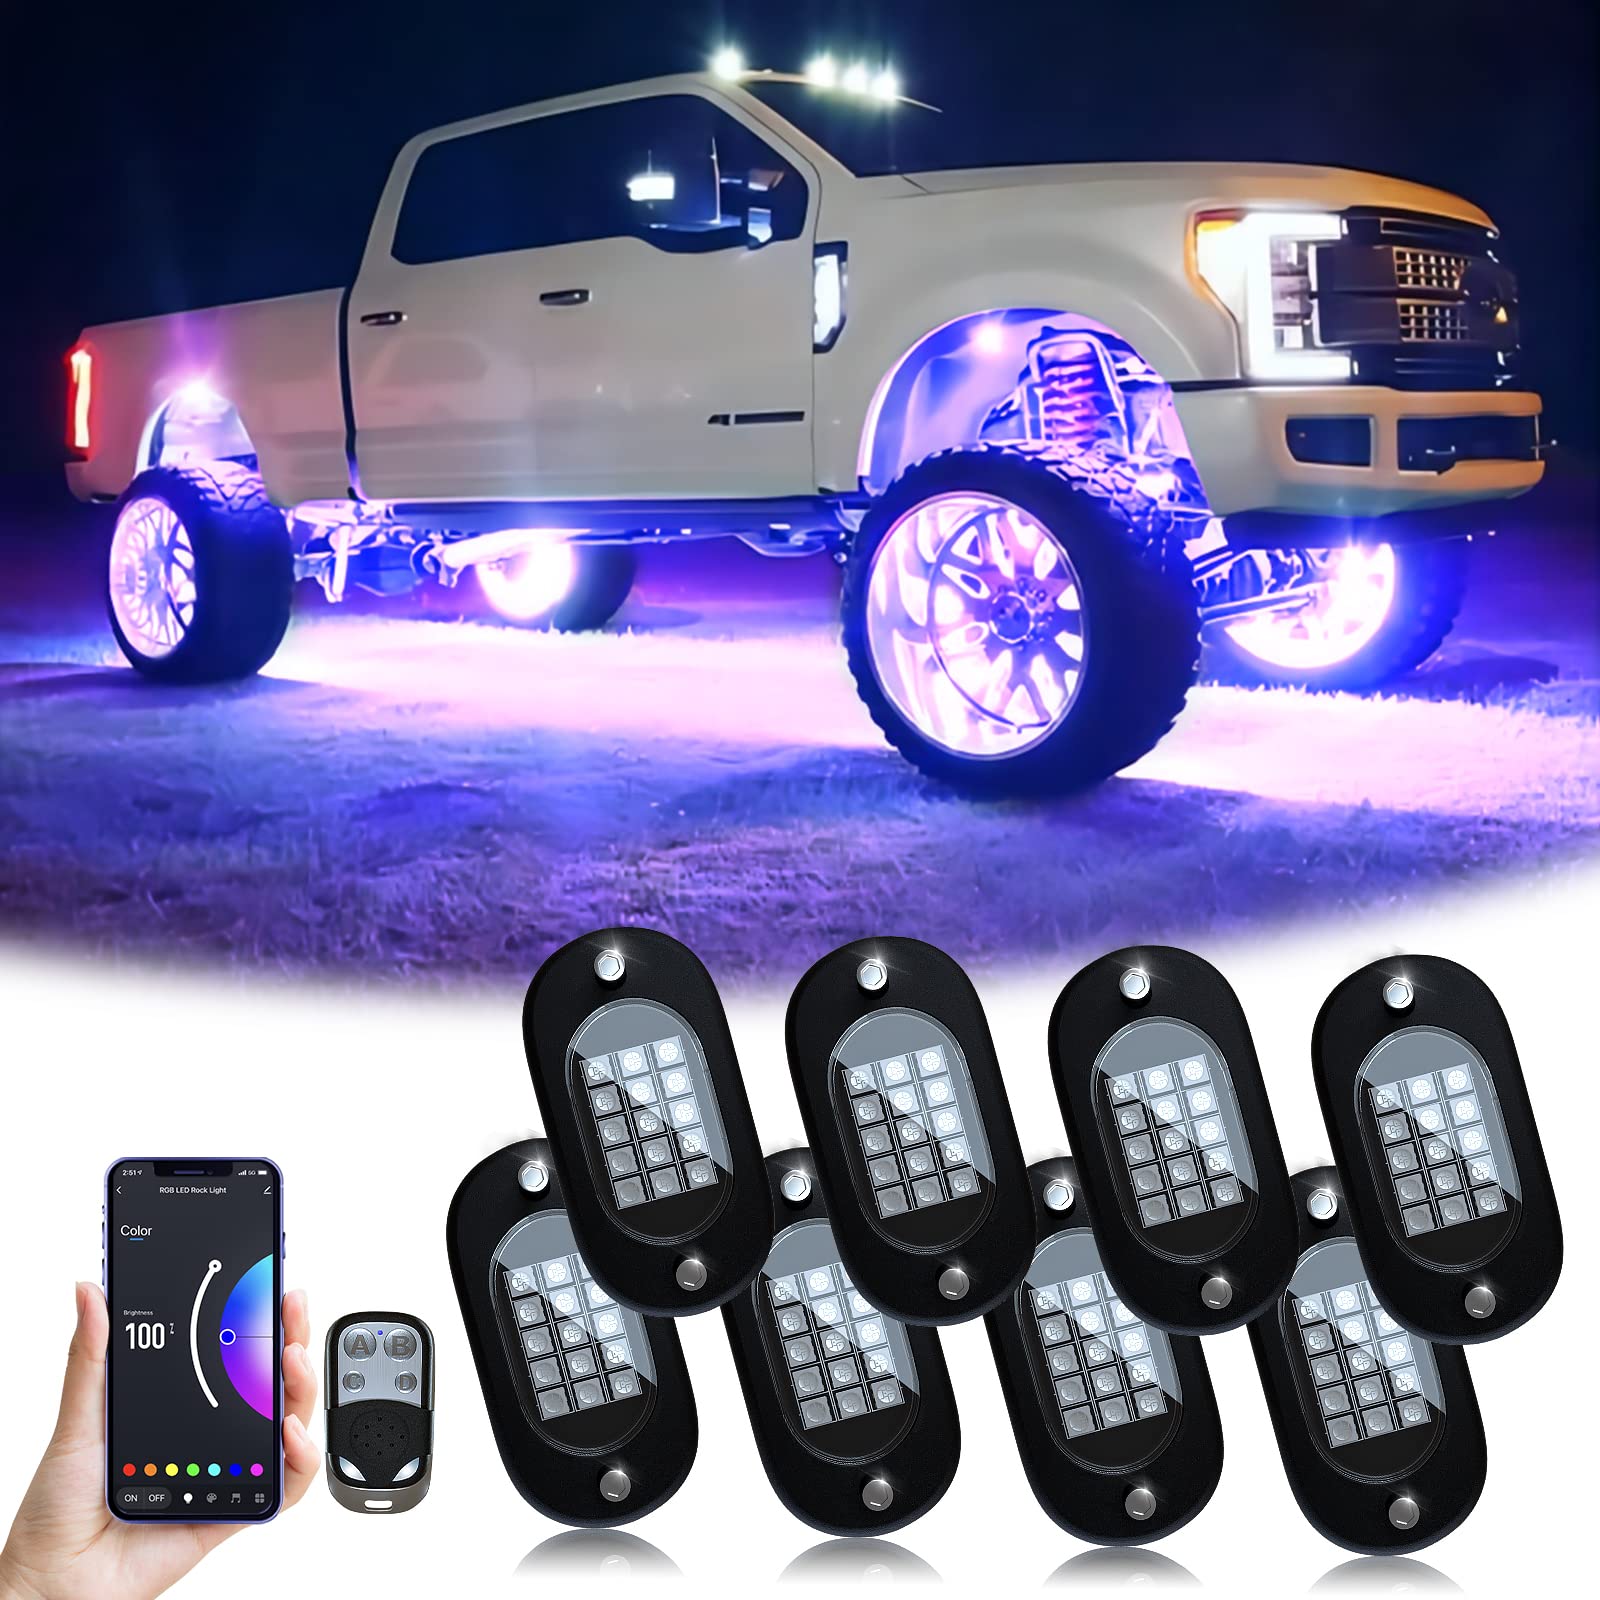
Customizing your truck is more than just a hobby; it’s a statement of individuality and a way to stand out on the road. If you’re looking to give your truck a unique and eye-catching appearance, LED underglow lights are the way to go. In this step-by-step guide, we’ll walk you through the process of customizing your truck with LED underglow lights, helping you achieve that head-turning look you’ve always dreamed of.
Table of Contents
Why LED Underglow Lights?
LED underglow lights have become increasingly popular among truck enthusiasts for several reasons:
- Aesthetic Appeal: They add a visually striking, futuristic appearance to your truck, making it stand out in a crowd.
- Customization: LED underglow truck led lights are available in various colors, allowing you to personalize your truck’s look to match your style.
- Visibility: They enhance the visibility of your truck on the road, increasing safety, especially in low-light conditions.
- Easy Installation: With the right tools and a bit of guidance, installing LED underglow lights is a straightforward process.
Step 1: Gather Your Supplies
Before diving into the installation, make sure you have all the necessary supplies:
- LED underglow light kit
- Screwdriver or drill
- Mounting brackets
- Wire connectors
- Wire strippers
- Zip ties
- Measuring tape
- Safety gear (gloves and safety glasses)
Step 2: Prepare Your Truck
Ensure your truck is parked on a level surface and the engine is turned off. To avoid any electrical accidents, disconnect the battery’s negative terminal.
Step 3: Measure and Plan
Determine where you want to install the LED underglow lights. You can place them along the frame, wheel wells, or other locations that suit your preferences. Measure the areas accurately to ensure you have enough LED strips to cover them.
Step 4: Mounting the Lights
Using the mounting brackets and screws or adhesive, attach the LED strips to the designated areas. Make sure they are secure and won’t detach while driving.
Step 5: Wiring
This is a critical step in the process. Follow these wiring steps carefully:
- Connect the wires to the LED strips, following the manufacturer’s instructions.
- Route the wires along the truck’s frame, securing them with zip ties to prevent sagging or contact with hot surfaces.
- Run the wires to the control module, typically placed in the engine bay.
Step 6: Connect to the Power Source
Most LED underglow light kits require a connection to the truck’s battery. Follow the manufacturer’s guidelines for this step. Ensure that the power source is properly fused to prevent electrical issues.
Step 7: Test the Lights
Before finalizing the installation, test the LED underglow lights to make sure they function correctly. Check all the colors and modes provided by the control module.
Step 8: Final Adjustments
With the lights functioning correctly, make any necessary adjustments to the LED strips’ positioning or wiring to ensure they look and perform as desired.
Step 9: Reconnect the Battery
Reconnect the truck’s battery by attaching the negative terminal. Double-check all the connections to guarantee safety and proper functionality.
Step 10: Enjoy Your Customized Truck
With your LED underglow lights successfully installed, it’s time to hit the road and enjoy your personalized truck’s stunning appearance. Be sure to comply with local regulations regarding the use of underglow lights to avoid any legal issues.
Customizing your truck with LED underglow lights is a rewarding project that not only adds a unique touch to your vehicle but also increases its visibility and safety. By following this step-by-step guide, you can confidently and safely achieve the custom look you’ve always wanted for your truck.

